Calibrating an atomic absorption spectrophotometer is an important task. It ensures correct and trustworthy results in lab work. Whether you test tiny bits of metals in nature samples or check quality in medicines, good calibration promises accuracy. At PERSEE, we know the value of reliable tools. We’re here to help you through the calibration process with clear and simple steps. This easy guide is for lab workers, researchers, and scientists who want to get better at calibration. It also helps improve their absorption spectrophotometer results.

Preparation Before Calibration
Good planning lays the groundwork for smooth calibration. By handling tools, setup, and surroundings, you reduce mistakes and get steady outcomes.
Gathering Necessary Tools and Materials
Before you start calibrating your atomic absorption spectrophotometer, collect these items:
- Calibration standards: Pure solutions for the elements you’re testing.
- Clean water: For making blanks and thinning solutions.
- Pipettes and flasks: For exact solution preparation.
- Cleaning items: Soft cloths and safe liquids to keep parts clean.
- Notebook or program: To write down calibration details and monitor progress.
Having these items ready makes the process faster and cuts delays.
Ensuring Proper Instrument Setup
Check that your spectrophotometer is set up right:
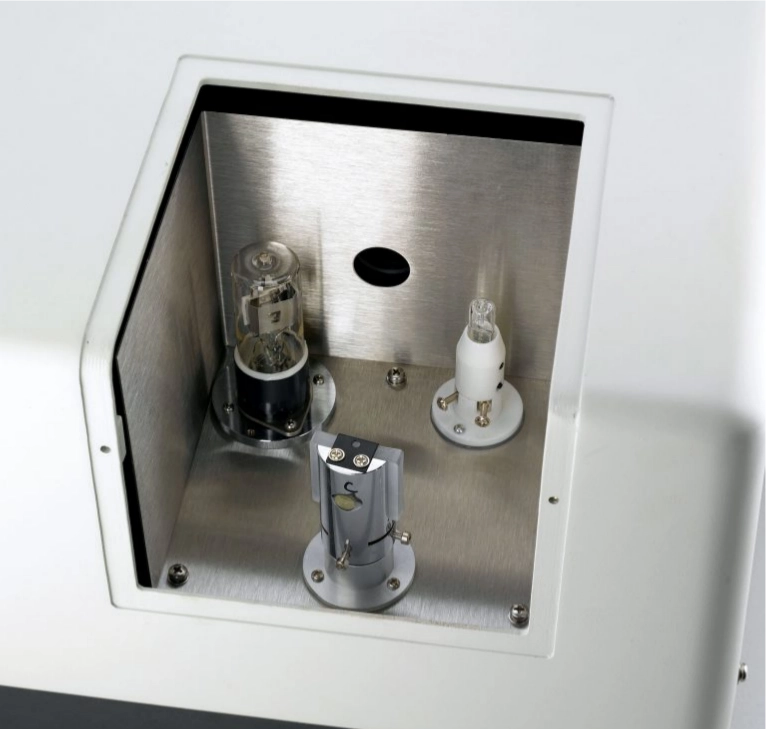
- Lamp placement: Make sure the hollow cathode lamp for the element is firmly in place.
- Gas supply: Confirm that acetylene and air or nitrous oxide supplies are steady.
- Optical setup: Ensure the monochromator and detector are lined up.
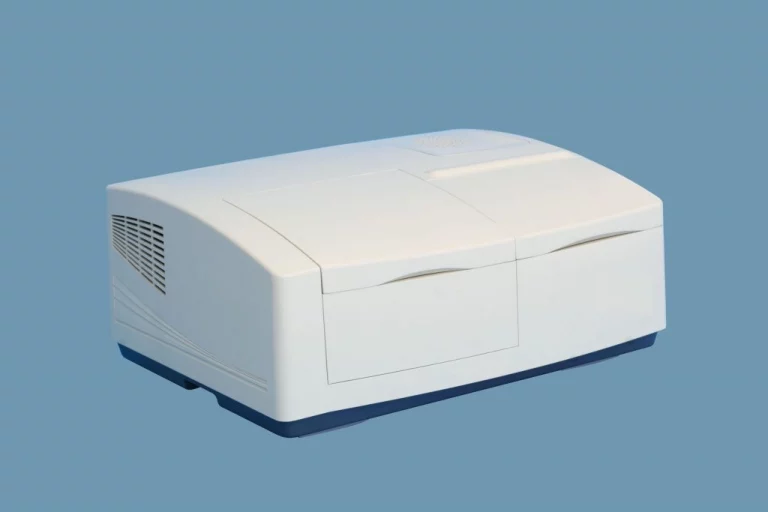
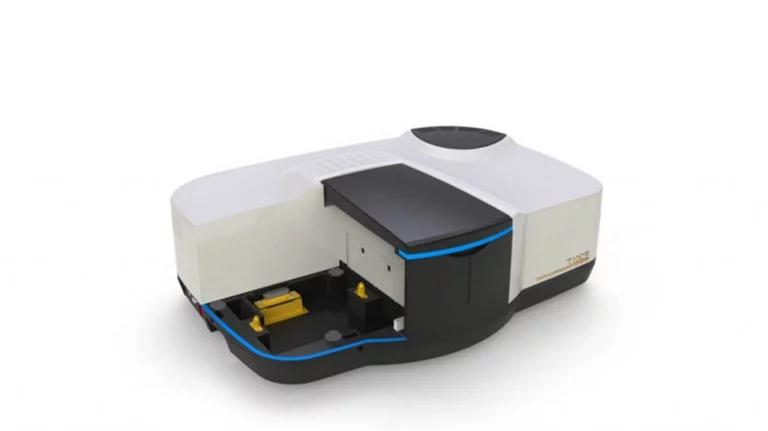
A correctly set-up tool is key for precise calibration. If you use our A3F Atomic Absorption Spectrophotometer, our simple design makes this step easy.
Checking Environmental Conditions for Calibration
Surrounding factors can affect calibration quality. Make sure:
- Stable temperature: Keep the lab between 15–30°C to avoid heat changes.
- No shaking: Place the tool on a solid surface to stop movement issues.
- Fresh air: Use a fume hood or exhaust to clear out gas byproducts.
These conditions keep the baseline steady and measurements correct.
Steps to Calibrate an Atomic Absorption Spectrophotometer
With planning done, follow these steps to calibrate your tool well.
Initializing the Instrument
Powering Up and Warm-Up Period
Turn on the spectrophotometer. Let it warm up for about 15–30 minutes. This steadies the lamp and parts. During this time:
- Check the lamp’s brightness with the tool’s checking features.
- Ensure gas flows match the maker’s rules (e.g., 2–4 L/min for acetylene).
Verifying Baseline Stability
Run a blank solution (clean water) to set a baseline. Watch the absorbance reading for 2–3 minutes to confirm it’s steady. If changes are more than ±0.002 absorbance units, look for gas leaks or lamp problems.
Selecting the Appropriate Calibration Standard
Types of Calibration Standards for Atomic Absorption Spectrophotometers
Calibration standards differ by element and sample type. Common ones include:
| Element | Standard Type | Concentration Range |
| Copper | Cu standard | 0.1–5 ppm |
| Lead | Pb standard | 0.5–10 ppm |
| Zinc | Zn standard | 0.1–2 ppm |
Pick standards that fit your sample’s expected concentration range.
Preparing the Calibration Standards
Thin stock standards with clean water to make a set of solutions (e.g., 0.5, 1, 2, and 5 ppm). Use measured pipettes and flasks for accuracy. Store standards in clean, acid-washed containers to avoid dirt.
Performing the Calibration Process
Setting Wavelength and Lamp Alignment
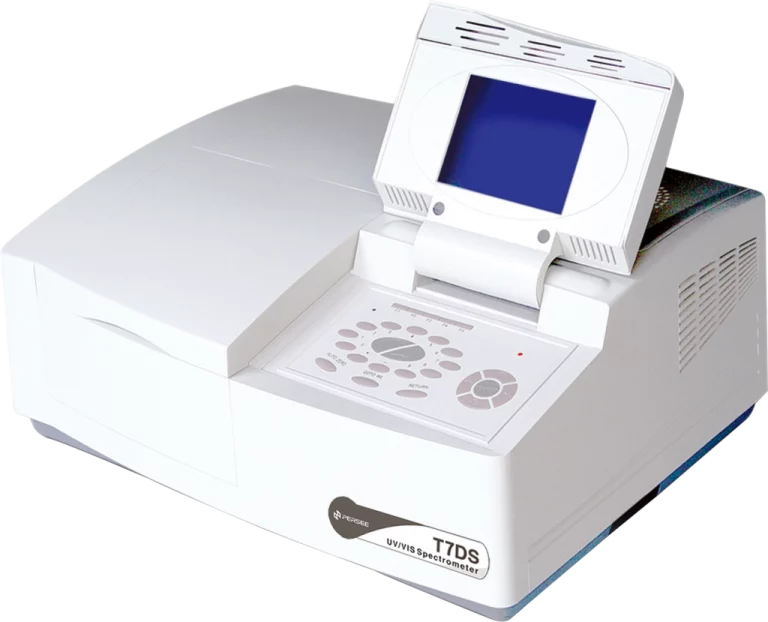
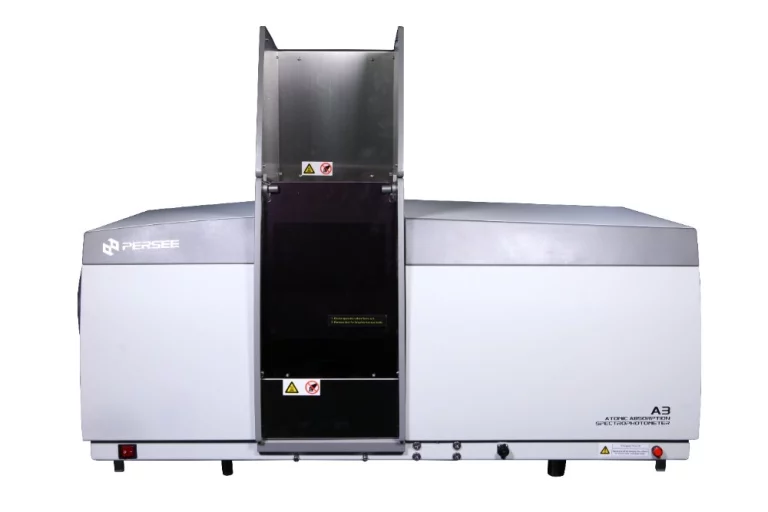
Choose the right wavelength for the element (e.g., 324.7 nm for copper). Line up the lamp to get the strongest signal. You can adjust the lamp position or use the tool’s auto-line feature. Our A3G Atomic Absorption Spectrophotometer has automatic wavelength picking for ease.

Establishing a Blank Reading
Spray the blank solution and set the absorbance to zero. Do this 2–3 times to ensure it’s steady. A solid blank reading is vital for a correct calibration curve.
Measuring Standard Solutions for Calibration Curve
Spray each standard solution, starting with the lowest concentration. Note the absorbance for each. Then, plot a calibration curve (absorbance vs. concentration). The curve should be straight with a correlation coefficient (R²) ≥ 0.995. If it’s not straight, check for dirt or tool drift.
Common Challenges During Calibration and How to Address Them
Calibration can have problems. Here’s how to fix common ones.
Troubleshooting Instrument Errors
Tool errors may come from:
- Lamp issues: Replace the lamp if its brightness is low or unsteady.
- Gas flow problems: Check regulator settings and look for leaks.
- Program errors: Restart the tool or update its software.
Regular upkeep, as suggested in our manuals, stops many errors.
Handling Drift in Baseline Readings
Baseline drift can happen due to temperature shifts or lamp aging. To fix it:
- Allow a longer warm-up time.
- Recheck surrounding conditions.
- Run a blank solution now and then during calibration.
Dealing with Contamination in Samples
Dirt in samples can ruin results. Prevent it by:
- Using pure reagents and clean water.
- Cleaning the nebulizer and burner head before calibration.
- Storing standards in clean containers.
PERSEE: A Reliable Atomic Absorption Spectrophotometer Supplier
At PERSEE, we are proud to be a trusted maker of lab tools since 1991. Based in Beijing, we focus on creating, improving, and selling top-quality scientific equipment. We hold ISO9001, ISO14001, OHSAS18001, and CE certifications. Our dedication to accuracy and new ideas ensures our tools meet lab needs worldwide.
Overview of PERSEE’s Product Offerings
We provide a variety of atomic absorption spectrophotometers built for flexibility and strength. Our lineup includes models like the A3AFG and A3G. They suit tasks in nature testing, food safety, and oil industries. Check our full range on our product page.
Key Features of PERSEE Instruments
Our spectrophotometers shine for their:
- High sensitivity: Find tiny elements at ppb levels.
- Quick scanning: Finish scans in just 2 seconds.
- Easy interface: Make calibration simple with adjustable workflows.
- Worldwide help: Use our fast service network for upkeep and fixes.
These traits make our tools a great pick for labs wanting dependability and speed.
Conclusion
Calibrating an atomic absorption spectrophotometer is a careful but necessary task. It ensures accurate lab results. Follow the steps here—planning, starting, standard picking, and calibrating. This way, your tool works at its best. At PERSEE, we’re committed to helping your lab succeed with top tools and expert advice. For more details or help, contact us today.
Frequently Asked Questions (FAQs)
What is the purpose of calibrating an atomic absorption spectrophotometer?
Calibration ensures the tool gives correct and repeatable measurements. It sets a link between absorbance and concentration. It also fixes tool changes and meets lab standards.
How often should calibration be performed?
Calibration timing depends on use and lab rules. Usually, calibrate daily before testing or when switching elements. For very precise work, calibrate every 4–6 hours or after long tool breaks.
Can calibration be automated with modern spectrophotometers?
Yes, many new spectrophotometers, including PERSEE’s A3AFG and A3G models, have automatic calibration options. These systems make wavelength picking, blank setting, and standard measuring easier. They reduce handwork and boost speed.