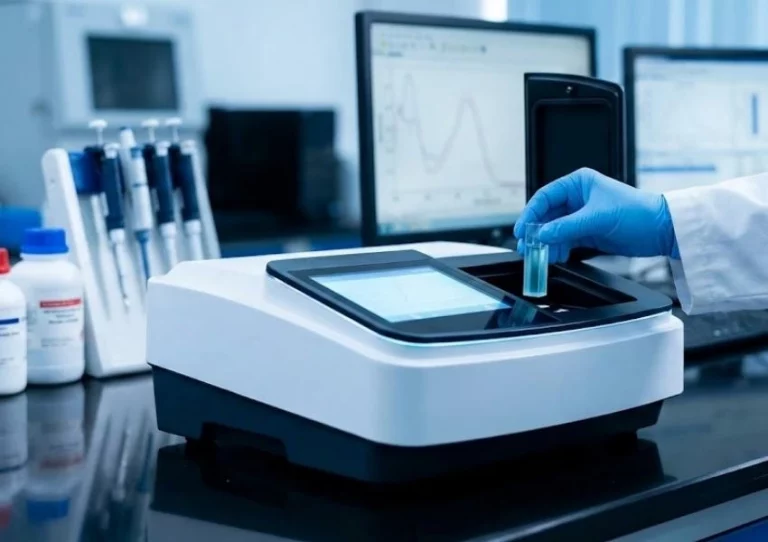
Stray light is one of the most frustrating sources of error in UV-Vis spectrophotometer measurements because the instrument may still appear to be working normally. The baseline can look acceptable. A standard can pass. Then a high-absorbance sample gives a result that is lower than expected, a calibration curve loses linearity, or a deep-UV method becomes difficult to reproduce.
The problem is not always a dirty optical surface. Stray light can come from the monochromator, grating, slit setting, wavelength region, sample cell, sample compartment, or a mismatch between the instrument and method. A useful troubleshooting process starts by separating instrument causes from sample and method causes. That saves time and prevents a maintenance issue from being mistaken for a need to replace the entire system.
What Stray Light Does to a UV-Vis Result
In an ideal measurement, the detector receives the selected wavelength band after the optical system has separated it from the rest of the source output. Stray light is unwanted radiation that reaches the detector outside the intended band. At high absorbance, even a small amount of unwanted light can make the detector see more transmitted radiation than the sample should allow. The reported absorbance then stops rising as expected.
Common Symptoms in Routine Testing
A stray light measurement error often appears as poor linearity at the high end of a calibration, unexpectedly low absorbance in a strongly absorbing sample, a distorted peak, or an unusual difference between instruments. Deep-UV work is especially sensitive because many optical materials and components behave differently at shorter wavelengths. A method that looks fine at 500 nm may expose a weakness around 220 nm.
Separate Optical Limits From Sample Limits
Before changing hardware, check the sample. A cloudy solution, scratched cuvette, residue on the cell wall, bubbles, fingerprints, fluorescence, or an unsuitable blank can create a result that resembles an optical problem. Run a clean reference, inspect the cell, dilute the sample if the absorbance is outside the method range, and compare the result with a known standard. If the issue follows the sample, the optical system may not be the main cause.
Keep the Optical Path Clean and Stable
Routine cleaning is the first practical step in UV-Vis stray light troubleshooting. Dust, solvent residue, fingerprints, and deposits around the sample compartment can scatter light or create unintended paths. The cell itself deserves the same attention as the instrument. Use matched cuvettes where the method requires them, keep the transparent faces aligned, and avoid wiping optical surfaces with materials that leave lint or scratches.
Check the Monochromator and Grating
The monochromator and grating determine how well the selected wavelength is separated from unwanted radiation. A sealed optical design helps protect the internal path, but it does not remove the need for qualified service when performance changes. Do not open the optical compartment as a first-line cleaning action. Record the wavelength, bandwidth, absorbance range, standard used, and symptom before asking for service.
Inspect Lamps and Wavelength Control
Lamp age, lamp alignment, warm-up time, and wavelength correction can affect the apparent stability of a measurement. A deuterium source serves the UV region, while a tungsten source covers the visible region in many benchtop systems. If a method changes near the lamp crossover or after lamp replacement, repeat wavelength and photometric checks rather than assuming the change is caused by the sample.
Use Spectral Bandwidth With Care
Bandwidth is often discussed as a resolution setting, but it also affects sensitivity and linearity. A wide bandwidth admits more light and can smooth a narrow absorption feature. A very narrow bandwidth can reduce the available signal and make noise more visible. The right setting is the widest bandwidth that still preserves the required spectral shape and absorbance response for the method.
Do Not Chase the Smallest Number
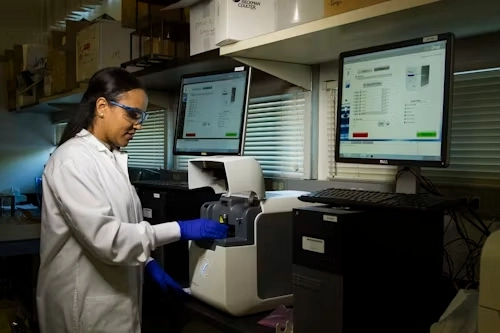
A very narrow slit is not a universal cure for stray light. It may help separate nearby features, but it can also lower throughput and raise noise. Test the method at several sensible bandwidths using a standard and a representative sample. Watch peak shape, absorbance, repeatability, and calibration behavior together. One attractive spectrum is not enough.
PERSEE’s T8DCS provides continuously selectable spectral bandwidth from 0.1 to 5 nm, a Czerny-Turner monochromator with holographic grating, photomultiplier tube detection, automatic wavelength correction, and true double-beam optics. It also links bandwidth choice with quantitative analysis error, which makes the T8DCS a practical model to consider when a lab needs more control than a fixed-bandwidth entry instrument.
Choose Optics That Match the Measurement
If stray light keeps returning after the cell, sample, lamp, and maintenance checks are under control, the optical design may be the limiting factor. Buyers should compare the stated stray light level, photometric range, wavelength range, monochromator arrangement, nitrogen purge option, and service method. Specification numbers only help when the test conditions are clear and close to the intended application.
When Double Monochromator Optics Help
PERSEE’s T9DCS uses true double-beam double-monochromator optics and a fully sealed optical design. It has stray light of 0.00004% T at 220 nm, a photometric range of -8.0 to 8.0 Abs, nitrogen-purged operation from 185 to 900 nm, continuous bandwidth selection from 0.1 to 5 nm, and automatic wavelength correction through an integrated mercury lamp. Those features target the conditions in which stray light becomes most visible: deep UV, strong absorbance, narrow spectral features, and demanding reference work.
T10DCS for Similar High-Range Demands
O T10DCS carries the same high-level optical direction in the PERSEE range, including true double-beam double-monochromator optics, ultra-low stray light characteristics, deep-UV support with nitrogen purge, continuous bandwidth selection, adjustable beam size, and a large sample compartment. The deciding point between T9DCS and T10DCS should come from the method, sample accessories, field or laboratory workflow, and supplier configuration rather than a model name alone.
Control the Sample and Measurement Range
High absorbance is not always an instrument fault. The Beer-Lambert relationship is most useful within a suitable working range, and a sample that is too concentrated can magnify relative error. Dilute the solution, shorten the path length, or select a lower-sensitivity wavelength when the method allows it. PERSEE’s T9DCS and T10DCS make the same practical point: absorbance range and wavelength choice affect the reliability of the result.
Cells, Accessories, and Beam Size
A long-path cell, micro-cell, thermostatic holder, sipper pump, integrating sphere, or adjustable beam-size accessory can solve one problem while creating another if the setup is not aligned with the method. Verify that the cell is seated correctly, the beam passes through the intended area, and the sample is mixed. For small volumes, beam size can matter as much as the nominal optical specification.
Build a Repeatable Troubleshooting Routine
A lab routine should move from simple checks to technical ones. Start with reference and sample cells, blank preparation, bubbles, concentration, and wavelength. Then check bandwidth, lamp warm-up, baseline, and photometric range. After that, compare the result with a qualified standard or a second instrument. Only then should the lab escalate to monochromator, detector, or service questions.
Keep a short record of what changed and what did not. If a new cell fixes the result, the issue was probably not the monochromator. If only deep-UV measurements fail, check the wavelength region, nitrogen purge, lamp status, and optical specification. If the problem appears across several cells and standards, a supplier should inspect the instrument and review the performance check with the lab.
A Better Purchase Question
Instead of asking which UV-Vis spectrophotometer has the lowest stray light number, ask which instrument can hold the required performance in the actual method. Does the lab need a fixed 2 nm entry-level workflow, continuous bandwidth control, true double-beam optics, double-monochromator design, nitrogen purge, a wide absorbance range, or unusual accessories? The answer should come from samples and methods, not from a single headline specification.
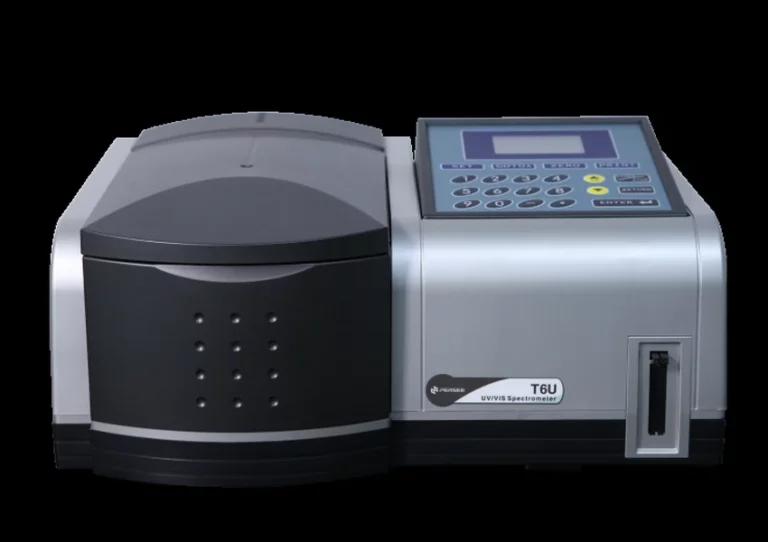
Persee‘s espetrómetro molecular gives buyers several steps to compare, from T6U to T8DCS, T9DCS, and T10DCS. The supplier discussion should cover the sample, wavelength, absorbance range, bandwidth, cell, cleaning plan, and performance checks. That is how a low stray light spectrophotometer becomes a dependable lab tool rather than a number on a quotation.
FAQ
Q1: What is the first thing to check when stray light appears?
A1: Check the cell, blank, sample concentration, bubbles, wavelength, and bandwidth first. These causes are common and can be tested without opening the optical system.
Q2: Does a narrower spectral bandwidth always reduce stray light problems?
A2: No. A narrower bandwidth can improve resolution, but it can also lower signal and increase visible noise. The correct setting should be selected with a standard and the actual method.
Q3: Which PERSEE model is suited to very low stray light work?
A3: T9DCS and T10DCS are the strongest candidates in the listed range because they use true double-beam double-monochromator optics, a sealed design, nitrogen-purge support, and very low stray light specifications.